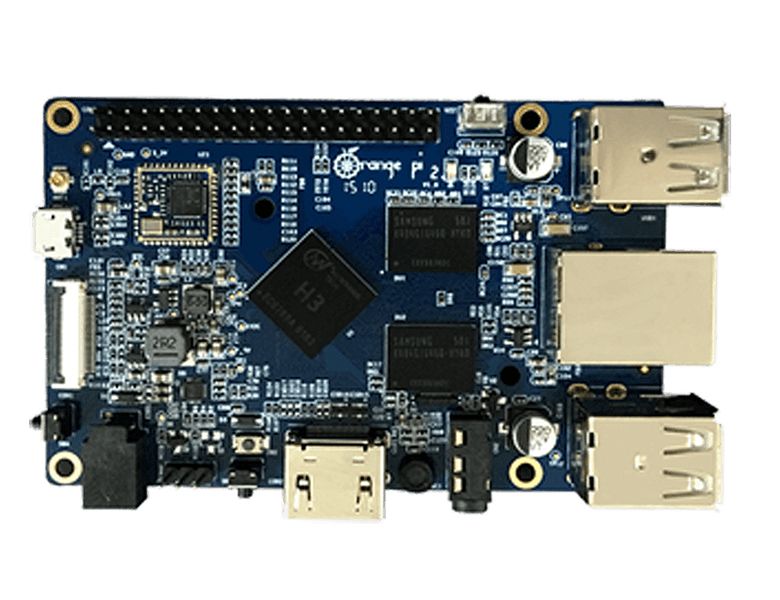
Orange Pi 2 by Shenzhen Xunlong Software CO.,Limited
Orange Pi 2 is for anyone who wants to start creating with technology – not just consuming it. It’s a simple, fun, useful tool that you can use to start taking control of the world around you.
- H3 Quad-core Cortex-A7 H.265/HEVC 4K
- Mali400MP2 GPU @600MHz
- Supports OpenGL ES 2.0
- 1GB DDR3 (shared with GPU)
- TF card (Max. 32GB) / MMC card slot
- 10/100M Ethernet RJ45
- A CSI input connector Camera
- Supports 8-bit YUV422 CMOS sensor interface
- Supports CCIR656 protocol for NTSC and PAL
- Supports SM pixel camera sensor
- Supports video capture solution up to 1080p@30fps
- MIC
- Supports HDMI output with HDCP
- Supports HDMI CEC
- Supports HDMI 30 function
- Integrated CVBS
- Supports simultaneous output of HDMI and CVBS
- v3.5 mm Jack and HDMI
- DC input can supply power, but USB OTG input don’t supply power
- Four USB 2.0 HOST, one USB 2.0 OTG
- Power Button(SW4)
- Recovery Button(SW2)
- UBoot Button(SW3)
- 40 Pins Header
- GPIO(1x3) pin
- UART, ground.
- Power led & Status led
- IR input, POWER
- Android Ubuntu, Debian, Rasberry Pi Image
Purchase
Contribute
Have some info to add for this board? Edit the source for this page here.
Adafruit Blinka Installation
We use a special library called adafruit_blinka (named after Blinka, the CircuitPython mascot) to provide the layer that translates the CircuitPython hardware API to whatever library the Linux board provides.
For example, on Raspberry Pi we use the python RPi.GPIO library. For any I2C interfacing we'll use ioctl messages to the /dev/i2c device. For SPI we'll use the spidev python library, etc. These details don't matter so much because they all happen underneath the adafruit_blinka layer.
Features: Wi-Fi, Ethernet, HDMI/DisplayPort, 40-pin GPIO
Board Usage Options: Linux Single Board Computer