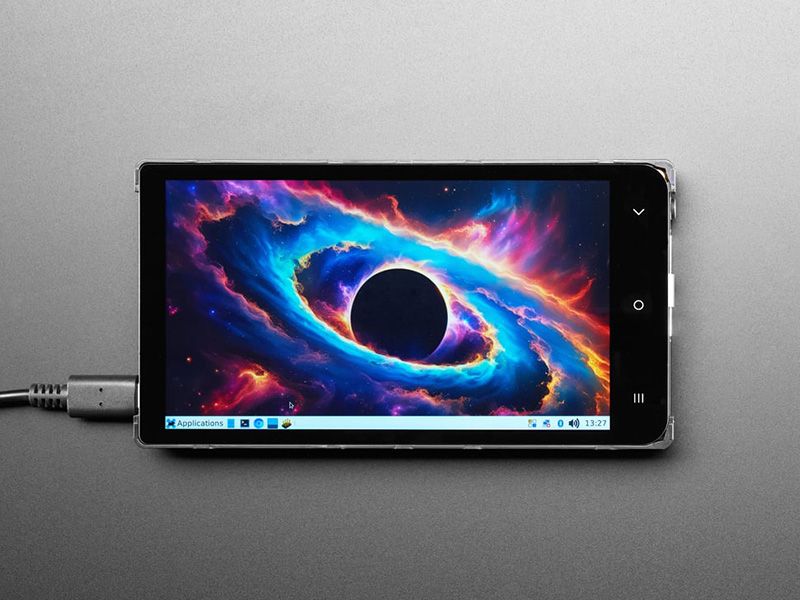
Vivid Unit by UUGear
UUGear’s Vivid Unit is a powerful and versatile single-board computer that can be used for a wide range of applications. It features an RK3399 CPU with 4GB RAM and 32GB eMMC storage. It is a palm-sized device with a 5.5″ capacitive touchscreen, speaker, microphone, WiFi/Bluetooth, and various interfaces. It can be powered with DC 5V (via USB-C) or an Ethernet cable (DC 48V via PoE).
Vivid Unit can be used for a variety of projects, such as:
- Smart home automation: Vivid Unit can be used to control lights, temperature, and other home appliances using various sensors and input devices.
- Robotics: The Vivid Unit’s GPIO and camera interface make it ideal for robotics projects, such as autonomous cars or robotic arms.
- Industrial control systems: Vivid Unit is ideal for use in industrial control systems, and it can be mounted like a screen for the whole system, which the users can interact with.
- Portable computing: Vivid Unit’s compact size and touch screen interface make it perfect for use as a portable computing device, such as a tablet or mini laptop.
- Retro gaming: Vivid Unit’s high resolution screen, compact size and onboard speaker make it a perfect hardware as retro gaming console.
Whether you’re a hobbyist, a student, or a professional, Vivid Unit offers a powerful and flexible platform for your computing needs.
Features:
- RK3399 CPU + 4GB RAM + 32GB eMMC storage
- 5.5 inch touchscreen with 1280x720 display resolution
- Built-in speaker and stereo microphone
- HDMI and MIPI camera connectors
- WiFi + Gigabit Ethernet + Bluetooth
- Two USB 3.1 ports and two USB 2.0 pin headers
- SPI, I2C, UART, SDIO, and ADC interfaces
- With onboard connector for SSD
- Powered via USB-C (DC 5V) or Ethernet cable (PoE / DC 48V)
Kit includes:
- 1 x Vivid Unit PCB
- 2 x Brace
- 1 x Touchscreen
- 4 x M3 screws
- 4 x M3 standoff
Purchase
Contribute
Have some info to add for this board? Edit the source for this page here.
Adafruit Blinka Installation
We use a special library called adafruit_blinka (named after Blinka, the CircuitPython mascot) to provide the layer that translates the CircuitPython hardware API to whatever library the Linux board provides.
For example, on Raspberry Pi we use the python RPi.GPIO library. For any I2C interfacing we'll use ioctl messages to the /dev/i2c device. For SPI we'll use the spidev python library, etc. These details don't matter so much because they all happen underneath the adafruit_blinka layer.
