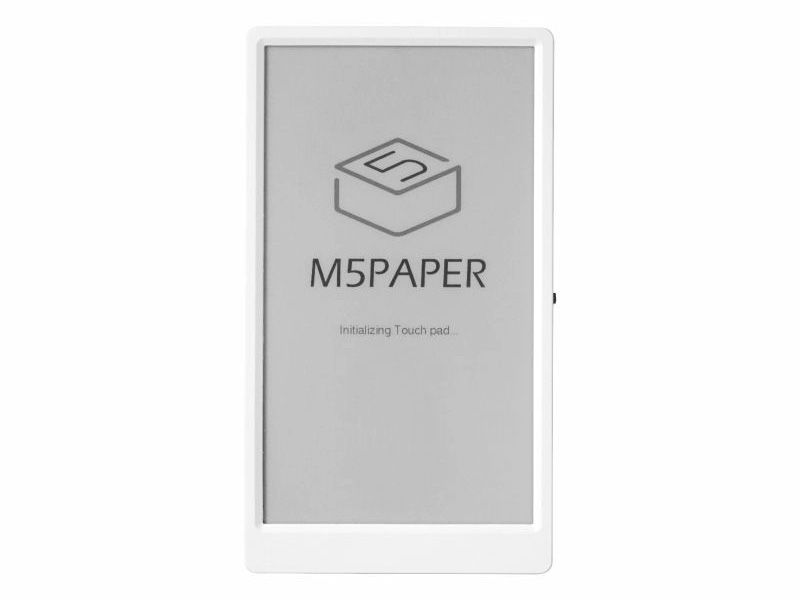
M5Paper ESP32 Dev Kit by M5Stack
M5Paper is M5Stacks latest core device with a touch enabled E-ink display. Powered by the ESP32-D0WDQ6-V3 this is our first device to integrate a super sized 540*960 @4.7” E-ink display,which supports 16 gray scale levels. The display is a GT911 capacitive touch screen,which supports two point touch and a variety of gesture controls . Compared to a regular LCD,E-ink displays are easier on the eyes, which makes them a great choice for reading or viewing for longer periods. Other benefits are the low power consumption and the ability to retain the image even if power to the display is terminated. Integrated in the CoreInk are an multi-function button for operation, SHT30 temperature and moisture sensor, physical buttons and an TF-card(microSD) port for data storage.
Additionally the FM24C02 internal eeprom chip provided 2K-bit(256x8)-EEPROM can be used to store vital data even when the device is off. A 1150mAh lithium polymer battery keeps the device going for long periods and battery life can be further preserved by using the RTC(BM8563)to set the device into deep sleep and wake it up again when needed。Three HY2.0-4P expansion ports are included which allow for building complex projects using the existing sensors in the M5Stack ecosystem.
Features
- ESP32 Standard wireless functions Wi-Fi
- Internal 16M Flash
- Low Power Display
- Multi-Point touch screen
- 180 degree viewing angle
- Built-in Magnet
- Internal 1150mAh Battery
- Expandable - HY2.0-4P 3 x external expansion ports
Documentation
Purchase
Contribute
Have some info to add for this board? Edit the source for this page here.
CircuitPython 9.2.8
This is the latest stable release of CircuitPython that will work with the M5Paper ESP32 Dev Kit. Use this release if you are new to CircuitPython.
Modules included in this download
_asyncio _bleio _eve _pixelmap adafruit_bus_device adafruit_pixelbuf aesio alarm analogbufio analogio array atexit audiobusio audiocore audioio audiomixer audiomp3 binascii bitbangio bitmapfilter bitmaptools board builtins builtins.pow3 busdisplay busio busio.SPI busio.UART canio codeop collections countio digitalio displayio dualbank epaperdisplay errno espidf espnow espulp fontio fourwire framebufferio frequencyio getpass gifio hashlib i2cdisplaybus io ipaddress jpegio json keypad keypad.KeyMatrix keypad.Keys keypad.ShiftRegisterKeys keypad_demux keypad_demux.DemuxKeyMatrix locale math max3421e mdns memorymap microcontroller msgpack neopixel_write nvm onewireio os os.getenv paralleldisplaybus ps2io pulseio pwmio rainbowio random re rotaryio rtc sdcardio select sharpdisplay socketpool socketpool.socketpool.AF_INET6 ssl storage struct supervisor synthio sys terminalio tilepalettemapper time touchio traceback ulab usb vectorio warnings watchdog wifi zlibFeatures: Wi-Fi, USB-C, Bluetooth/BTLE, Display
CircuitPython 10.0.0-alpha.7
This is the latest development release of CircuitPython that will work with the M5Paper ESP32 Dev Kit.
Alpha development releases are early releases. They are unfinished, are likely to have bugs, and the features they provide may change. Beta releases may have some bugs and unfinished features, but should be suitable for many uses. A Release Candidate (rc) release is considered done and will become the next stable release, assuming no further issues are found.
Please try alpha, beta, and rc releases if you are able. Your testing is invaluable: it helps us uncover and find issues quickly.
Release Notes for 10.0.0-alpha.7
Modules included in this download
_asyncio _bleio _bleio (native) _eve _pixelmap adafruit_bus_device adafruit_pixelbuf aesio alarm analogbufio analogio array atexit audiobusio audiocore audioio audiomixer audiomp3 binascii bitbangio bitmapfilter bitmaptools board builtins builtins.pow3 busdisplay busio busio.SPI busio.UART canio codeop collections countio digitalio displayio dualbank epaperdisplay errno espidf espnow espulp fontio fourwire framebufferio frequencyio getpass gifio hashlib i2cdisplaybus io ipaddress jpegio json keypad keypad.KeyMatrix keypad.Keys keypad.ShiftRegisterKeys keypad_demux keypad_demux.DemuxKeyMatrix locale lvfontio math max3421e mdns memorymap microcontroller msgpack neopixel_write nvm onewireio os os.getenv paralleldisplaybus ps2io pulseio pwmio rainbowio random re rotaryio rtc sdcardio select sharpdisplay socketpool socketpool.socketpool.AF_INET6 ssl storage struct supervisor synthio sys terminalio tilepalettemapper time touchio traceback ulab usb vectorio warnings watchdog wifi zlibFeatures: Wi-Fi, USB-C, Bluetooth/BTLE, Display
Absolute Newest
Every time we commit new code to CircuitPython we automatically build binaries for each board and language. The binaries are stored on Amazon S3, organized by board, and then by language. These releases are even newer than the development release listed above. Try them if you want the absolute latest and are feeling daring or want to see if a problem has been fixed.
Previous Versions of CircuitPython
All previous releases of CircuitPython are available for download from Amazon S3 through the button below. For very old releases, look in the OLD/ folder for each board. Release notes for each release are available at GitHub button below.
Older releases are useful for testing if you something appears to be broken in a newer release but used to work, or if you have older code that depends on features only available in an older release. Otherwise we recommend using the latest stable release.
